Meet the chocolate craving crusher that won’t wreck your diet.
We have all been there. It is 9:00 PM, the house is finally quiet, and you are sitting on the couch with a specific hunger. You don’t want an apple, don’t want a handful of almonds. You want a pint of rich, fudge-like chocolate ice cream. But you also know that a standard pint packs nearly 1,000 calories and enough sugar to keep you awake until midnight.
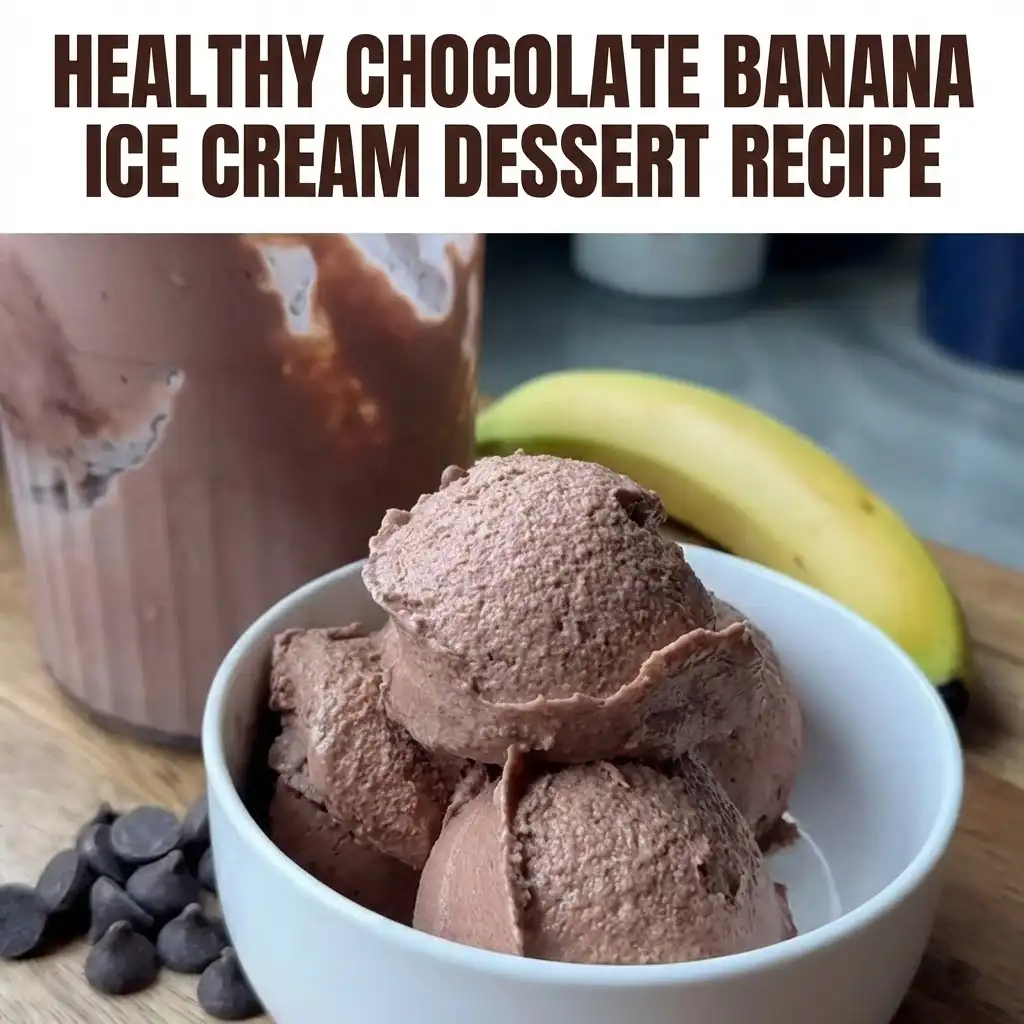
This Healthy Chocolate Banana Ice Cream Dessert is your solution.
Forget the heavy cream and refined sugar. By harnessing the natural creaminess of bananas and the magic of double-blending, you can create a frozen treat that rivals the texture of a Wendy’s Frosty or soft-serve, but with wholesome ingredients.
Whether you own a viral Ninja Creami or just a trusty high-speed blender, this recipe is accessible to everyone. It is the ultimate Healthy Dessert that tastes indulgent but is packed with nutrients, hydration, and natural sweetness.
Why You Will Love This Recipe
- Volume Eating Friendly: You can eat this entire batch for roughly the same calories as a single scoop of premium store-bought ice cream.
- Ninja Creami Compatible: This recipe is specifically formulated to work perfectly in ice cream makers like the Ninja Creami, but works in a blender too!
- Dairy-Free Adaptable: It works beautifully with almond milk, oat milk, or standard dairy, making it perfect for vegans and flexitarians.
- Kid-Approved: My kids think this is just “chocolate ice cream.” They have no idea they are eating fruit and antioxidants.
- 5 Pantry Staples: No gums, stabilizers, or weird additives. Just five real ingredients you likely have right now.
Ingredients & Smart Swaps
To get that silky, scoopable texture without fat-heavy cream, we rely on specific ingredient chemistry. Here is what you need and how to swap it.
The Creamy Base
- Milk (1 ½ cups): This provides the volume and liquid base.
- Dietary Swap: For a Vegan/Dairy-Free version, use Creamy Oat Milk (my favorite for texture) or Almond Milk. If you want a protein boost, use Fairlife milk or soy milk.
- Keto Swap: Use unsweetened Almond Milk or heavy cream diluted with water.
- Ripe Banana (1 medium): The banana acts as a thickener and a natural sweetener. It gives the ice cream that “stretch” texture.
- Expert Note: Use a banana with brown spots! Green bananas will leave a chalky, starchy aftertaste.
- Substitution: Hate bananas? You can swap this for ½ cup of Roasted Sweet Potato or Avocado, though you may need to increase the maple syrup to balance the flavor.
The Flavor Profile
- Cocoa Powder (2 tbsp): Use unsweetened cocoa powder or Dutch-processed cocoa for a darker, “Oreo-like” flavor.
- Superfood Swap: Use raw Cacao Powder for extra magnesium and antioxidants.
- Maple Syrup (2 tbsp): This adds a caramel-like sweetness that pairs perfectly with chocolate.
- Low Calorie Swap: You can swap this for Sugar-Free Maple Syrup, Agave, or Honey. If you want zero sugar, liquid Stevia or Monk Fruit drops work great too.
- Salt (1 pinch): Do not skip this! Salt enhances the chocolate flavor and cuts the sweetness of the banana so it doesn’t taste just like a frozen smoothie.
Step-by-Step Guide: How to Make Healthy Ice Cream
There are two ways to make this. The “Block Freeze” method (great for Ninja Creami or food processors) is detailed below.
Step 1: The Blend
In a blender or large bowl, combine your 1 ½ cups of milk, 1 ripe banana, 2 tbsp cocoa powder, 2 tbsp maple syrup, and pinch of salt. Blend or whisk until completely liquid and smooth. You don’t want any chunks of banana here, or they will turn into icy rocks later.
Step 2: The Deep Freeze
Pour the mixture into a freezer-safe container.
- For Ninja Creami Owners: Pour directly into your pint container, ensuring you don’t cross the “Max Fill” line.
- For Blender/Food Processor Owners: You can pour this into an ice cube tray (for easier blending later) or a shallow Tupperware container.
Freeze for 24 hours.
Expert Tip: Don’t rush this! Ideally, the mixture needs to be frozen solid at a very low temperature (-7°F is ideal). If the core is still liquid, your ice cream will turn into slushy soup instantly.
Step 3: The Creamify Process
Remove your container from the freezer. The Thaw: Let it sit on the counter for 10 to 15 minutes. This softens the edges just enough for the blade to catch.
- Ninja Creami: Spin on “Lite Ice Cream.”
- Food Processor: Break the block into chunks (or use your frozen cubes) and pulse until it turns into crumbs, then process on high until it turns creamy.
Troubleshooting: If the mixture looks crumbly, powdery, or like “dippin’ dots” after the first blend, do not panic! The Re-Spin: Add 1 tablespoon of milk, insert the container back in, and blend/spin again. This extra liquid helps emulsify the crystals into a creamy soft-serve texture.
Dietary & Storage Information
This Healthy Chocolate Banana Ice Cream Dessert is best enjoyed fresh, but you can store it.
- Storage (Freezer): If you don’t finish it all (which is rare!), flatten the surface and cover tightly with a lid. It will freeze solid again. To eat leftovers, you must let it thaw on the counter for 20 minutes to soften, or re-spin it.
- Dietary Tags:
- Gluten-Free: Yes.
- Vegan: Yes (if using plant milk).
- Paleo: Yes (if using almond milk and maple syrup).
- Low Fat: Yes.
Frequently Asked Questions
Q: Can I add protein powder to this? A: Absolutely! This is a popular hack. Add 1 scoop of chocolate protein powder during Step 1. Note that protein powder absorbs liquid, so you may need to add an extra splash of milk during the final blend to get it creamy.
Q: My ice cream tastes too much like banana. How do I fix it? A: Banana is a strong flavor. To mask it, add 1 tablespoon of peanut butter or increase the cocoa powder to 3 tablespoons. The strong fats and chocolate will overpower the fruitiness. Alternatively, use frozen avocado chunks instead of banana for a neutral base.
Q: Why is my ice cream icy and not creamy? A: This happens if the milk used has a very high water content (like skim milk or watery almond milk). Fat equals creaminess! Try using canned coconut milk, oat milk, or adding a tablespoon of nut butter to the base mix to prevent ice crystals from forming.
Q: Can I use frozen bananas? A: If you are using a Ninja Creami, you must thaw the bananas first to liquidize them before freezing the pint block. If you are using a standard high-speed blender, you can skip the 24-hour freeze: just blend frozen banana slices with a splash of milk and cocoa powder for instant soft serve!
Final Thoughts
This Healthy Chocolate Banana Ice Cream proves that you don’t need a dairy farm or a chemistry set to make delicious frozen desserts at home. It satisfies the deepest chocolate cravings while providing potassium, calcium, and joy.
So go ahead—eat ice cream for breakfast. We won’t judge.
Did you make this recipe? Leave a comment below and let me know—did you use a Ninja Creami or a Blender?
Nutrition Information (Per Batch/Pint)
- Calories: ~385 kcal (Entire Pint!)
- Carbohydrates: 72g
- Protein: 14g (based on dairy milk)
- Fat: 6g
- Sugar: 50g (Natural sugars from fruit/milk/maple)
(Note: Nutrition is estimated based on using 2% dairy milk. Using almond milk will significantly lower the calorie count to approx 250 kcal per pint!)